Points
Points provide a way for properly weighing Contacts. These Points have both triggers and actions. The following section outlines all the relevant term definitions, and a thorough understanding of how Points function. This helps make your overall marketing automation process successful using Points
Point Actions
Point Actions are those times when a Contact receives a change in their Point total. These actions can be either positive or negative Point changes and occur based on a particular action as you determine.
To add a new action:
On the left side, navigate to Points > Manage Actions and click the New button located in the top right corner to open the New Point Action window.
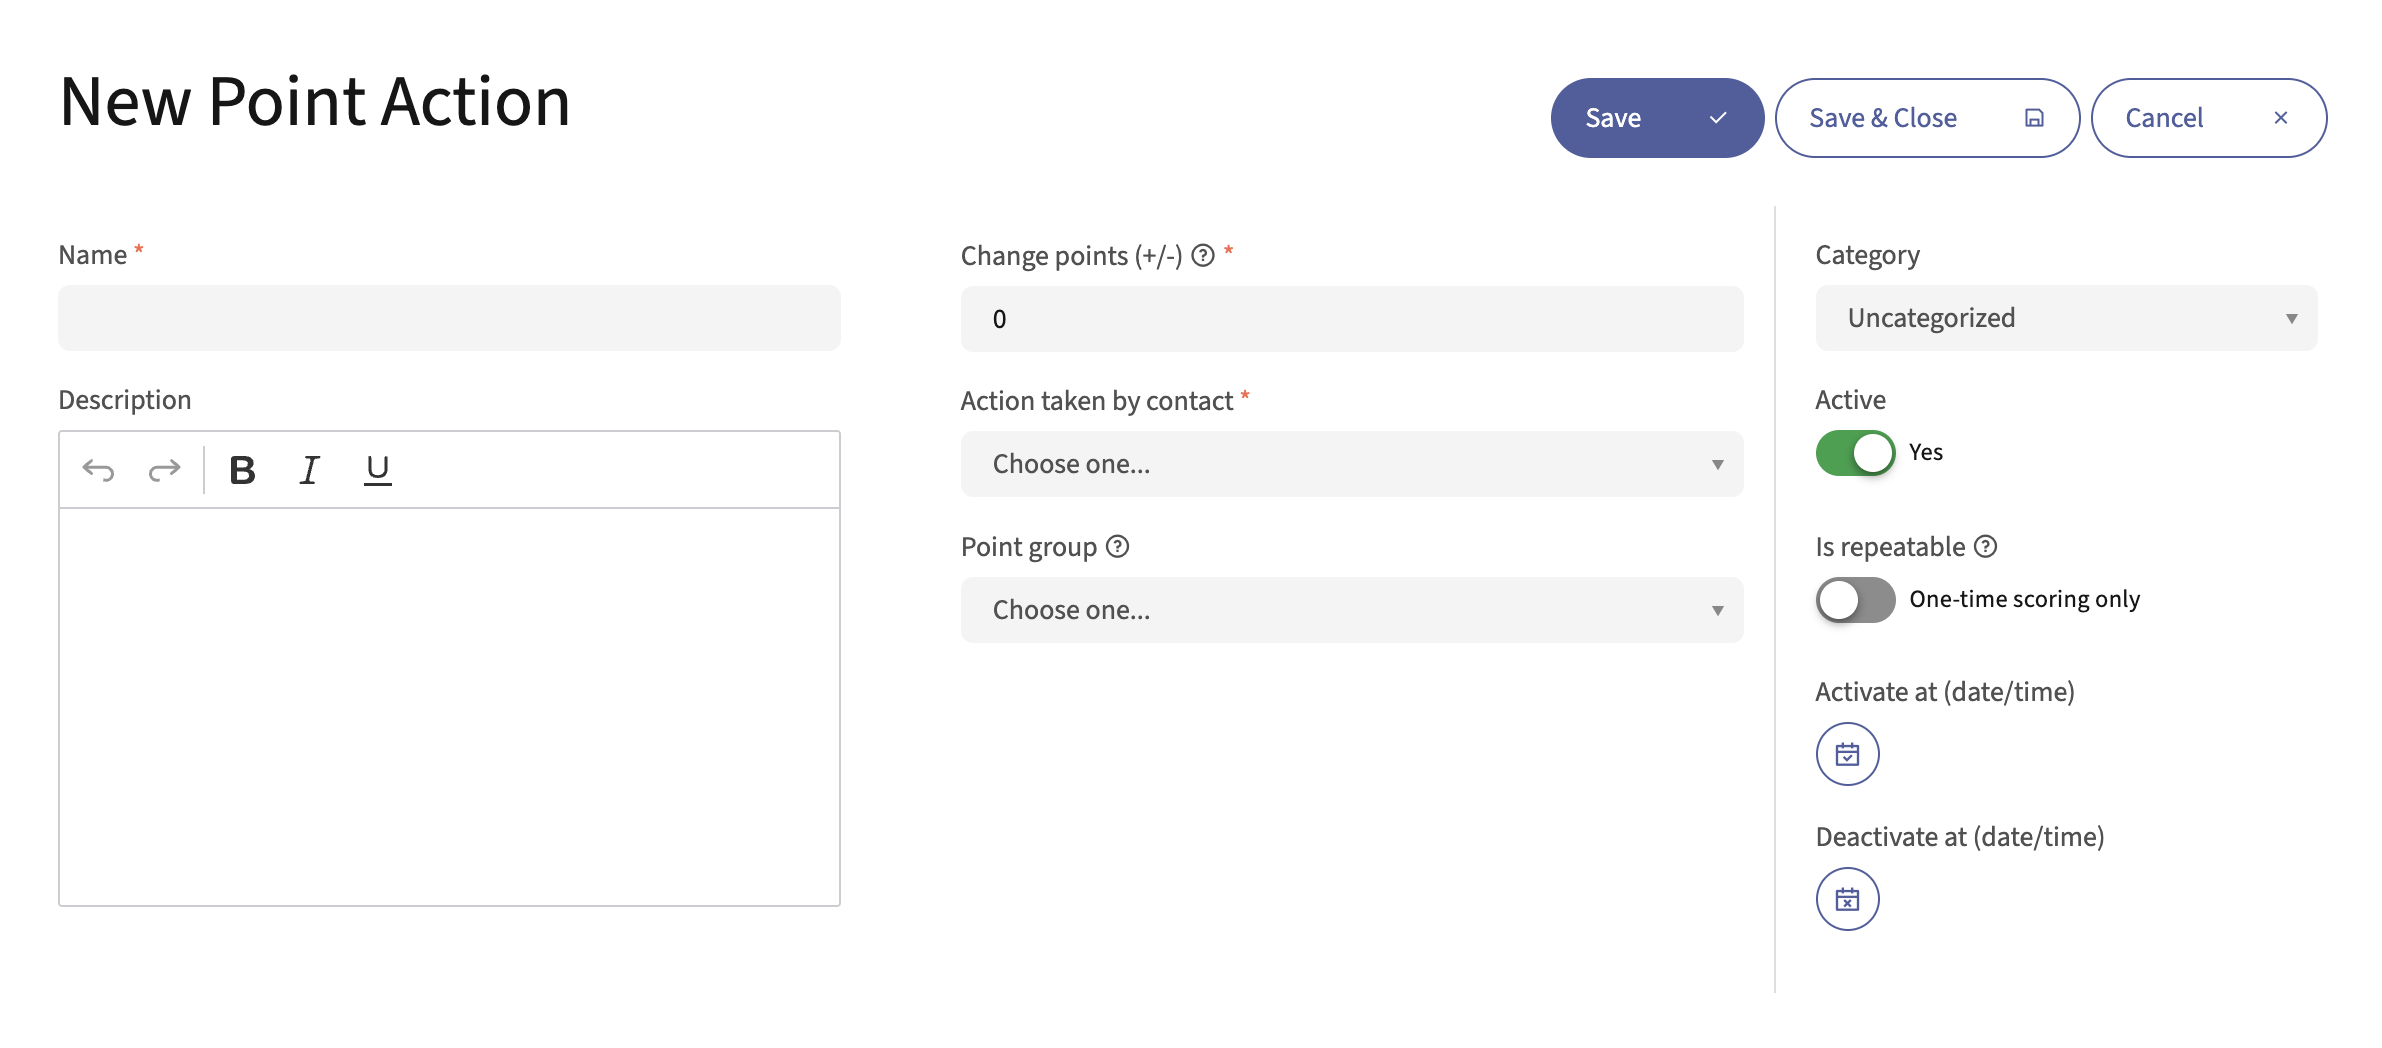
In the main panel, fill in the following fields:
Name - The name of your action. This is how the action displays in your list of actions, so choose an identifiable name.
Description - Add a description to help you find certain actions. There may be more actions which are similar or more in-depth.
Change Points (+/-) - The value change to set for the action. The
+isn’t necessary when adding Points. When subtracting Points, add the-symbol.Action taken by Contact - The specific Contact activity required to trigger the Point Action.
Point Group - Identify the target group for the action. An empty selection applies the action to all main Contact’s Points by default.
On the right side is more information:
Category - Organize your Point Actions based on their goals, Campaigns, etc. For more information, see Categories. All Points accumulate on a Contact record, regardless of Category. There is one Points score for each Contact.
Active and Activate/Deactivate at date/time - Once you have a Point action, Mautic awards Points when a Contact completes the action. Points aren’t given for inactive actions. If you have target behaviors that you want to award Points for within a certain time period, you can set the activate and deactivate dates
Is repeatable - To award Points each time a Contact completes an action, select Yes. If you want to award Points only the first time someone completes the action, select No - this is the default.
Click Save or Save & Close.
Point Triggers
Once a Contact has accumulated a Point total, you may want to trigger an action with the Contact. You may create multiple triggers for different Point values.
To add a new trigger:
On the left side, navigate to Points > Manage Triggers and click the New button located in the top right corner to create a new Point Trigger.
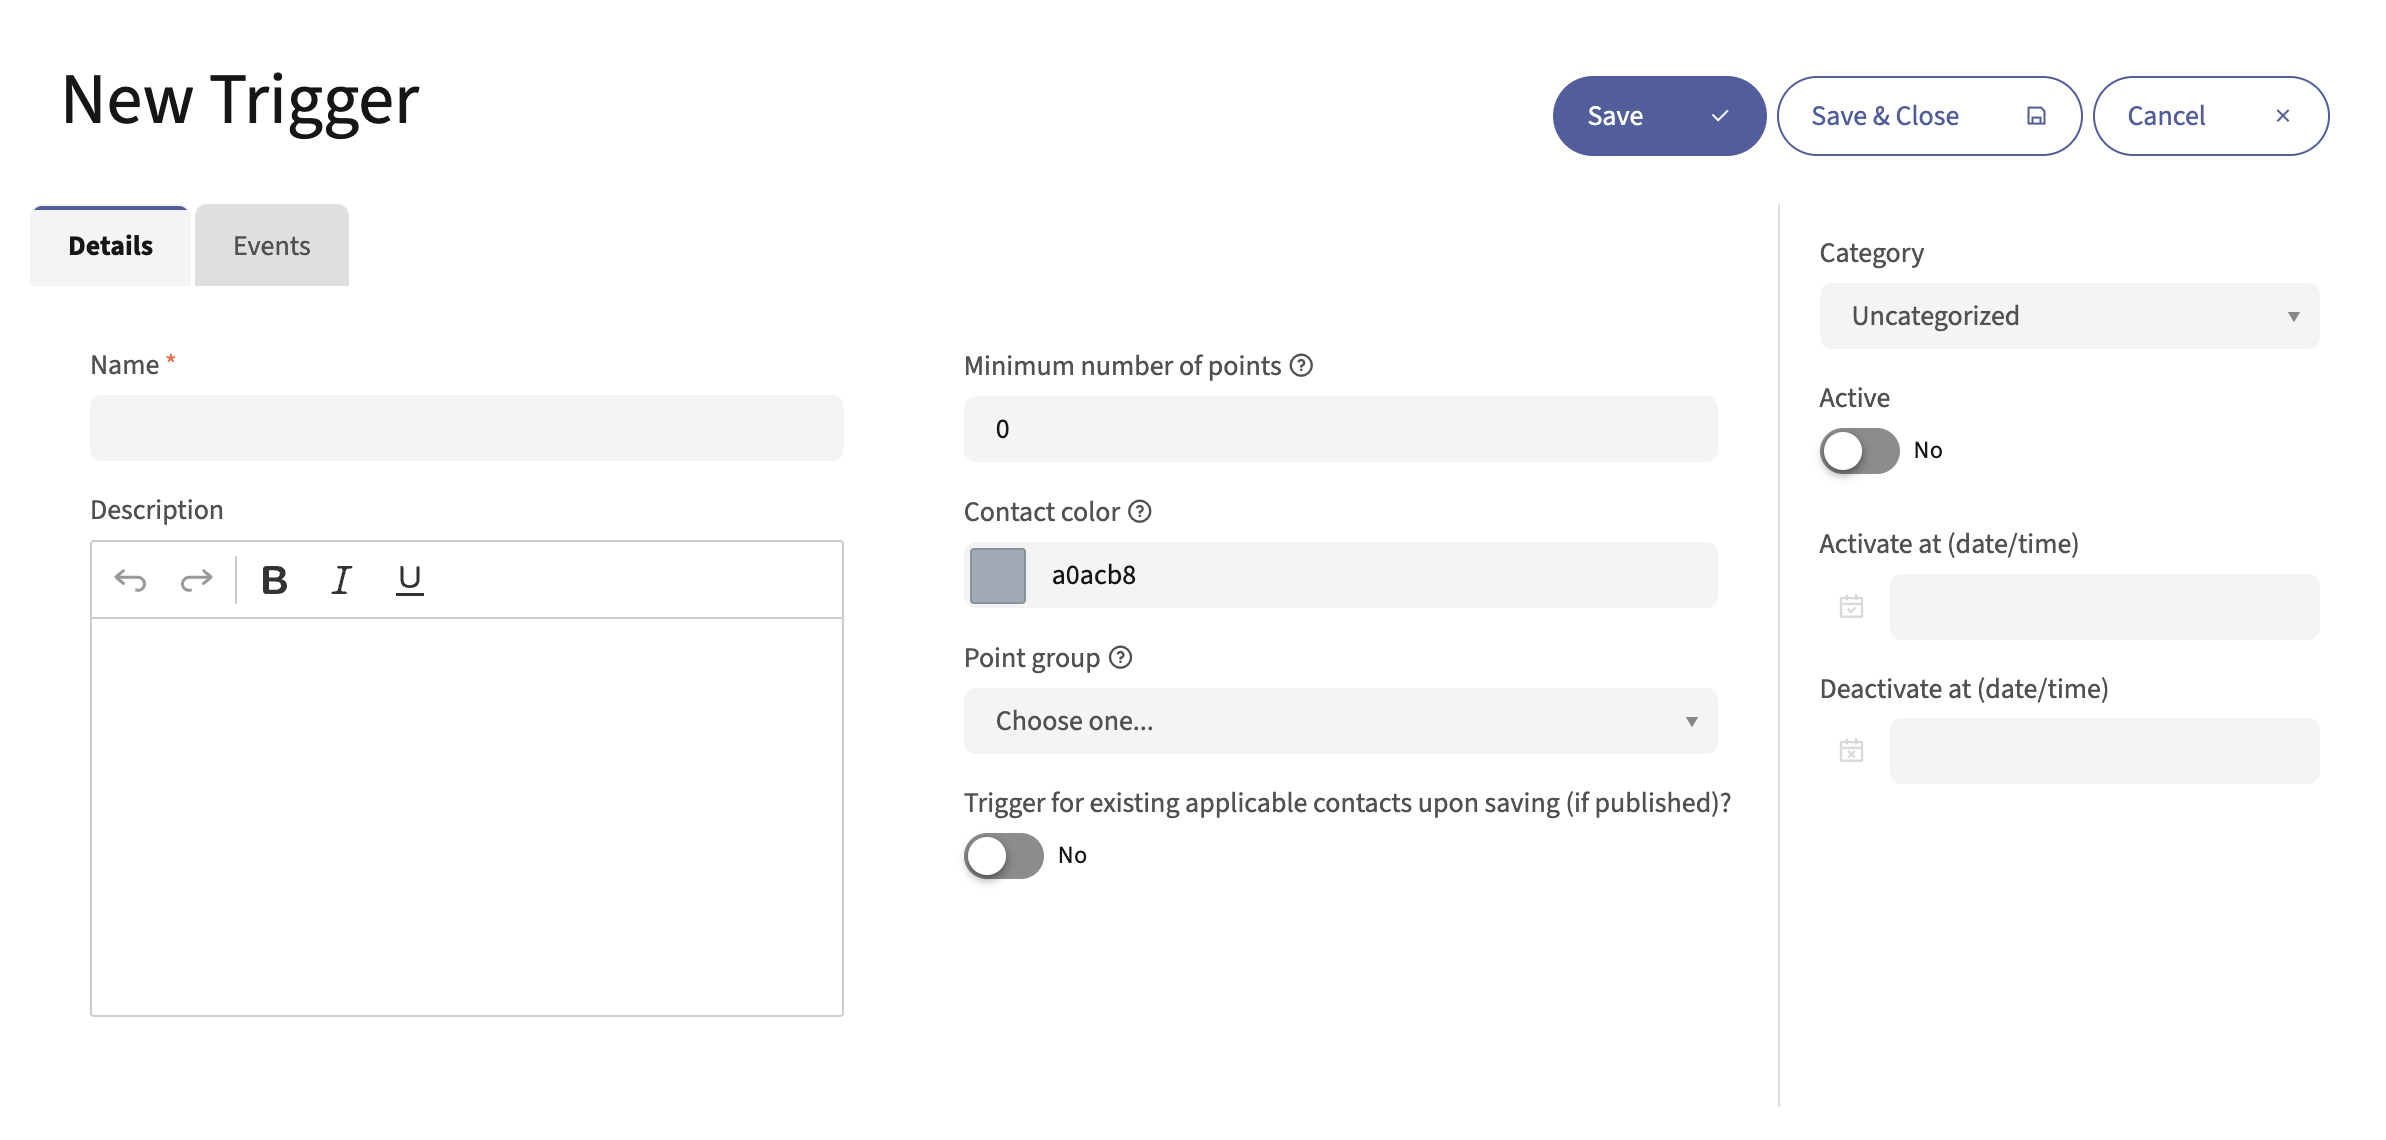
Complete the main panel information. Use the Name, Description, Point Group, and Category fields as you do for Point Actions. The Active toggle and Active and Activate/Deactivate at date/time settings also work the same way. Then, fill in these extra fields:
Minimum number of Points - The minimum number of Points required to trigger the Point Action.
Contact color - This sets a highlight color for Contacts who earn at least the minimum number of Points.
Trigger for existing applicable Contacts upon saving - Select Yes to apply this trigger to Contacts who already have the minimum number of Points.
Once you have decided and entered those options, go to the Events tab. Here, you can trigger one or more events once a Contact has reached your predetermined Point total. These Point Triggers and associated events are also fully customizable.
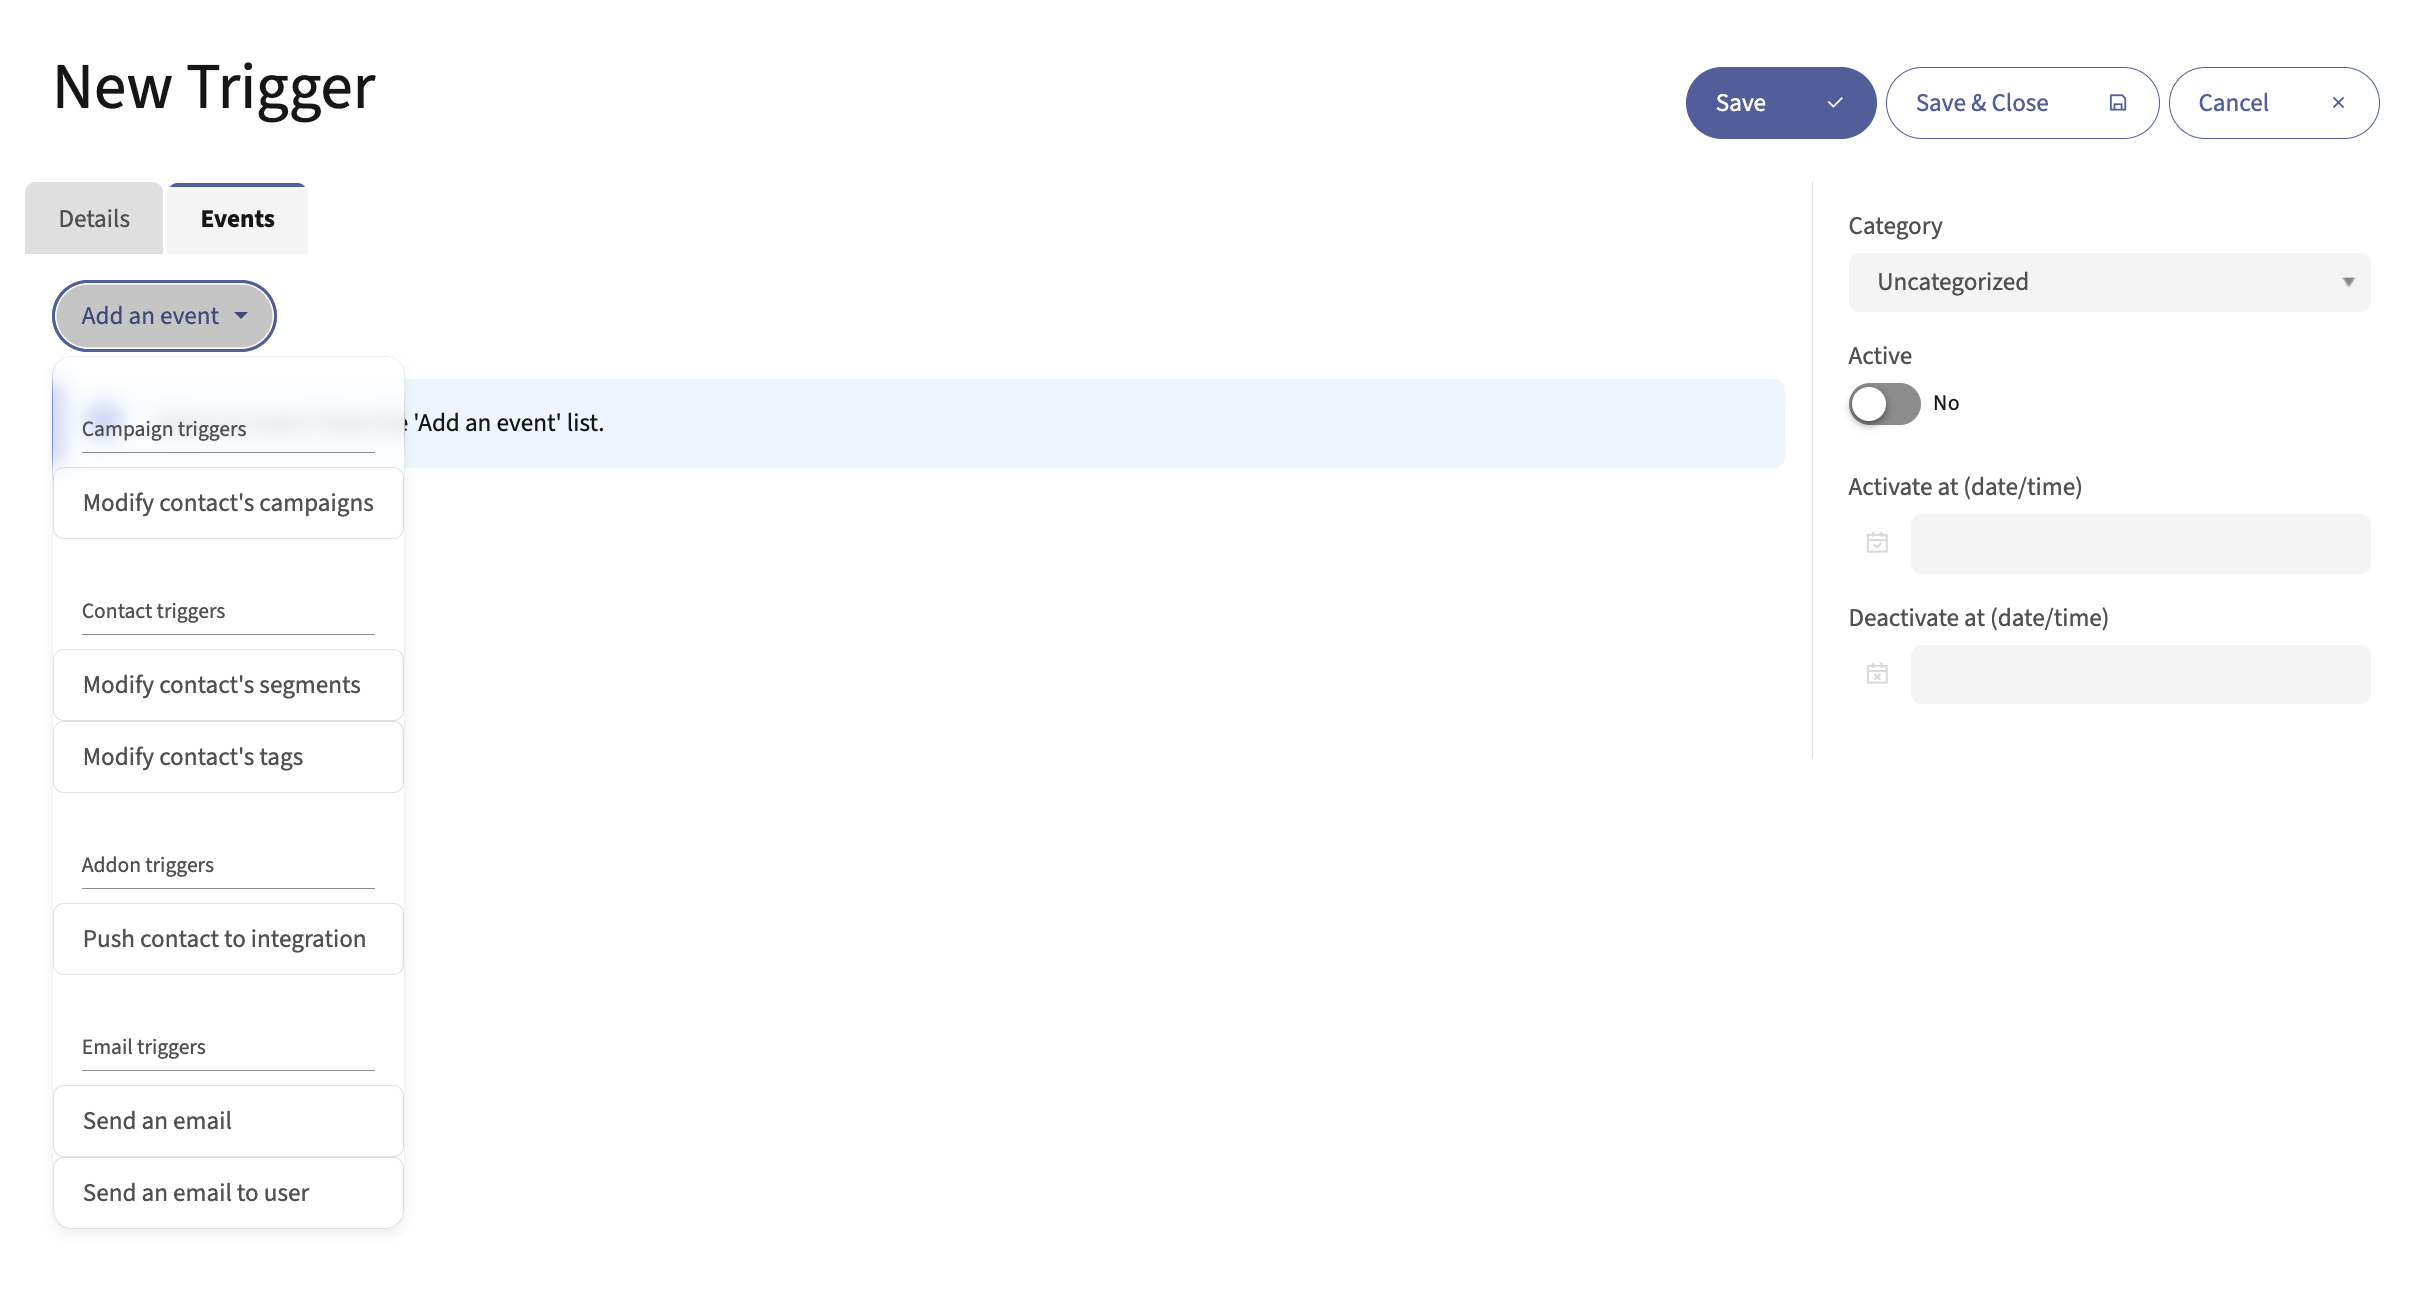
Campaign triggers
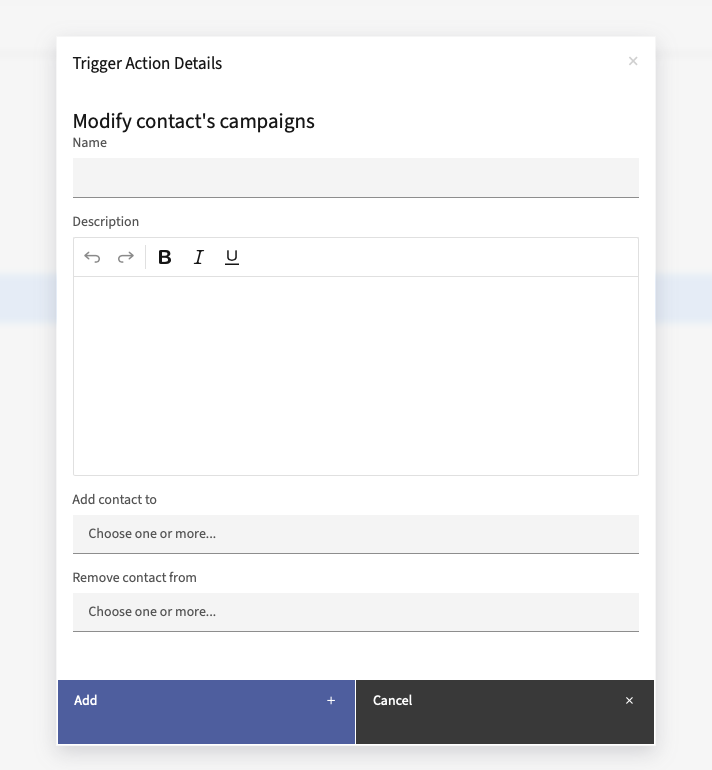
Modify Contact’s Campaigns - Add a Contact to or remove a Contact from any Campaigns you have activated.
Contact triggers
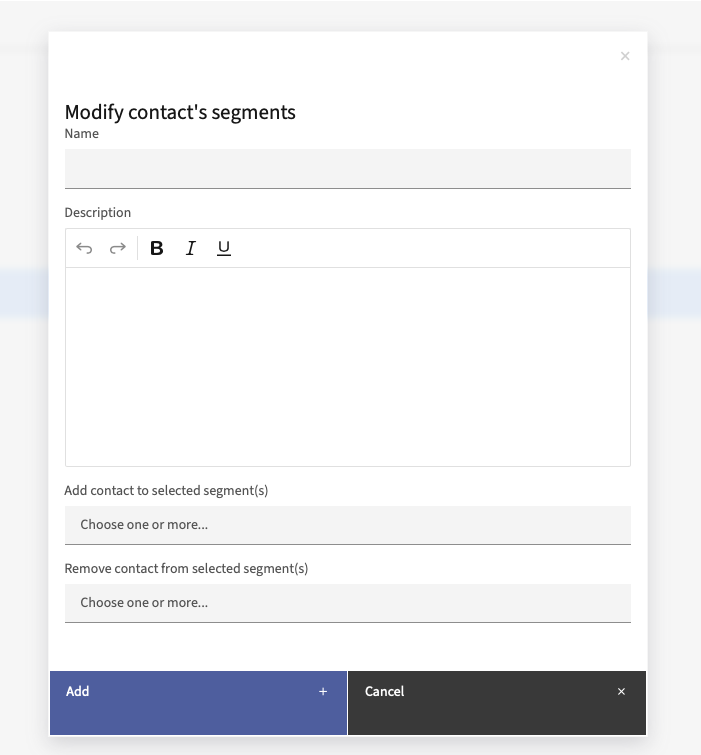
Modify Contact’s Segments - Add a Contact to or remove a Contact from any Segments you have activated.
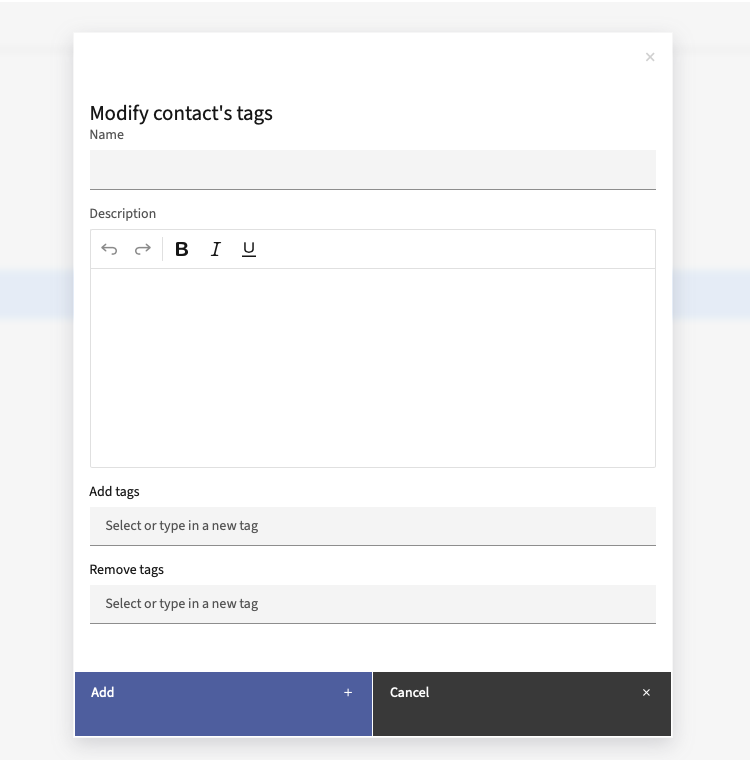
Modify Contact’s tags - Add or remove any Tags on the Contact record. If a Tag doesn’t exist, you may create a new one in the edit window for this event.
Add-on triggers
Push Contact to Integration - To only push Contacts to an Integration after hitting a minimum Point total, use this option. You must have the Triggered action push Contacts to Integration option selected in the Integration. After selecting this event, the system displays a dialog box where you can choose which Integration to push the Contact to. For example, if you base your definition of a Marketing Qualified Lead (MQL) on Point values, you may decide to only push Contacts who are MQLs to your CRM. Once a Contact meets the Points requirement to be an MQL, use this action to push the Contact to your CRM.
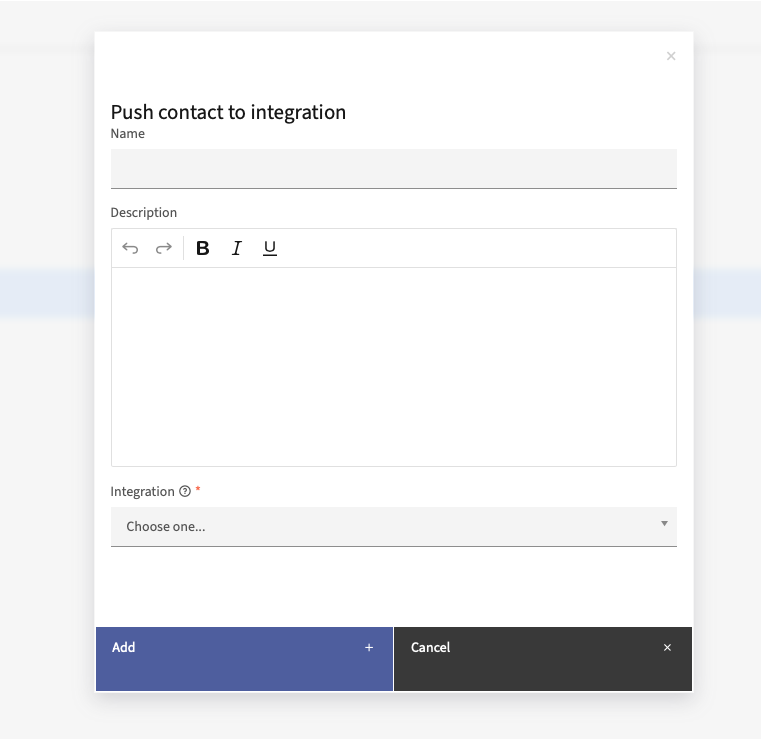
Note
The Push Contact to Integration action isn’t supported with the Salesforce Plugin.
Email triggers
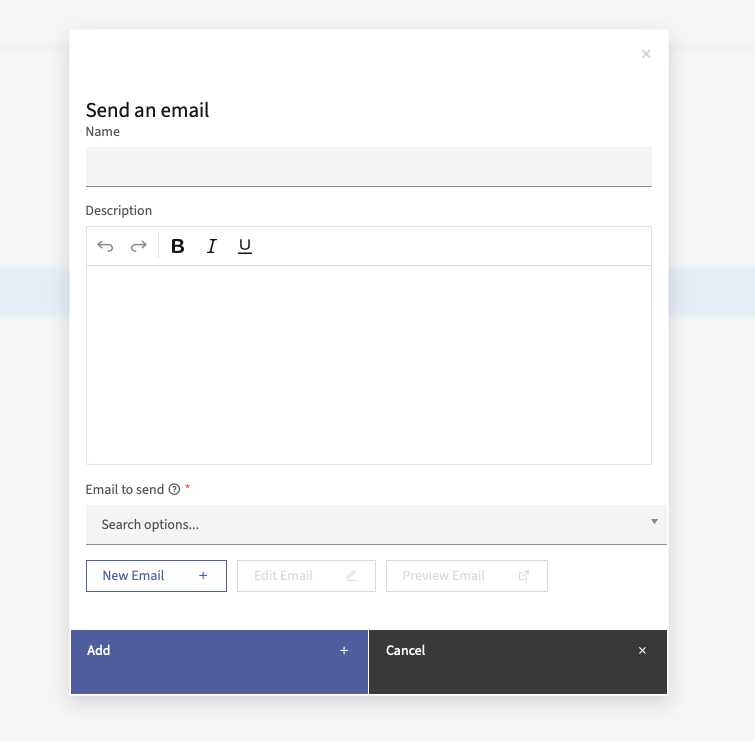
Send an Email - Send a template Email to the Contact based on their engagement. This may be some sort of special offer, congratulations, etc.
- Send an Email to User - Tell a team member that a Contact has reached a minimum number of Points. There is an option in this event to send the Email to the Contact’s owner. You may either write a basic Email in the editor, or use a template Email.
Selecting a User and selecting the option of send Email to Contact’s owner notifies both Contacts.
If User has no owner or if the owner is same as the Mautic User, this sends only one Email.
You can add more Emails to ‘to’, ‘cc’ and ‘bcc’ fields - separated by a comma. You can add space after each comma if needed.
Sends Notification to all address - User’s Email, owner’s Email, to, cc and bcc.
