Managing Segments
Segments in Mautic are lists or groups of Contacts. Use Segments to send Emails, trigger Campaigns, or for analysis. You can add and remove Contacts into static and dynamic Segment types.
Segments provide ways to easily organize your Contacts. There are a variety of fields available for configuring these Segments.
When viewing all Segments, the # contacts column on the right shows the number of Contacts included in that particular Segment.

Note
Mautic renamed lead lists to Segments in Mautic 1.4.0 release.
Creating a Segment
To create a new Segment, navigate to Segments in the menu, and click the +New button.
In the Details tab, add a Name, Public name and Description to your Segment.
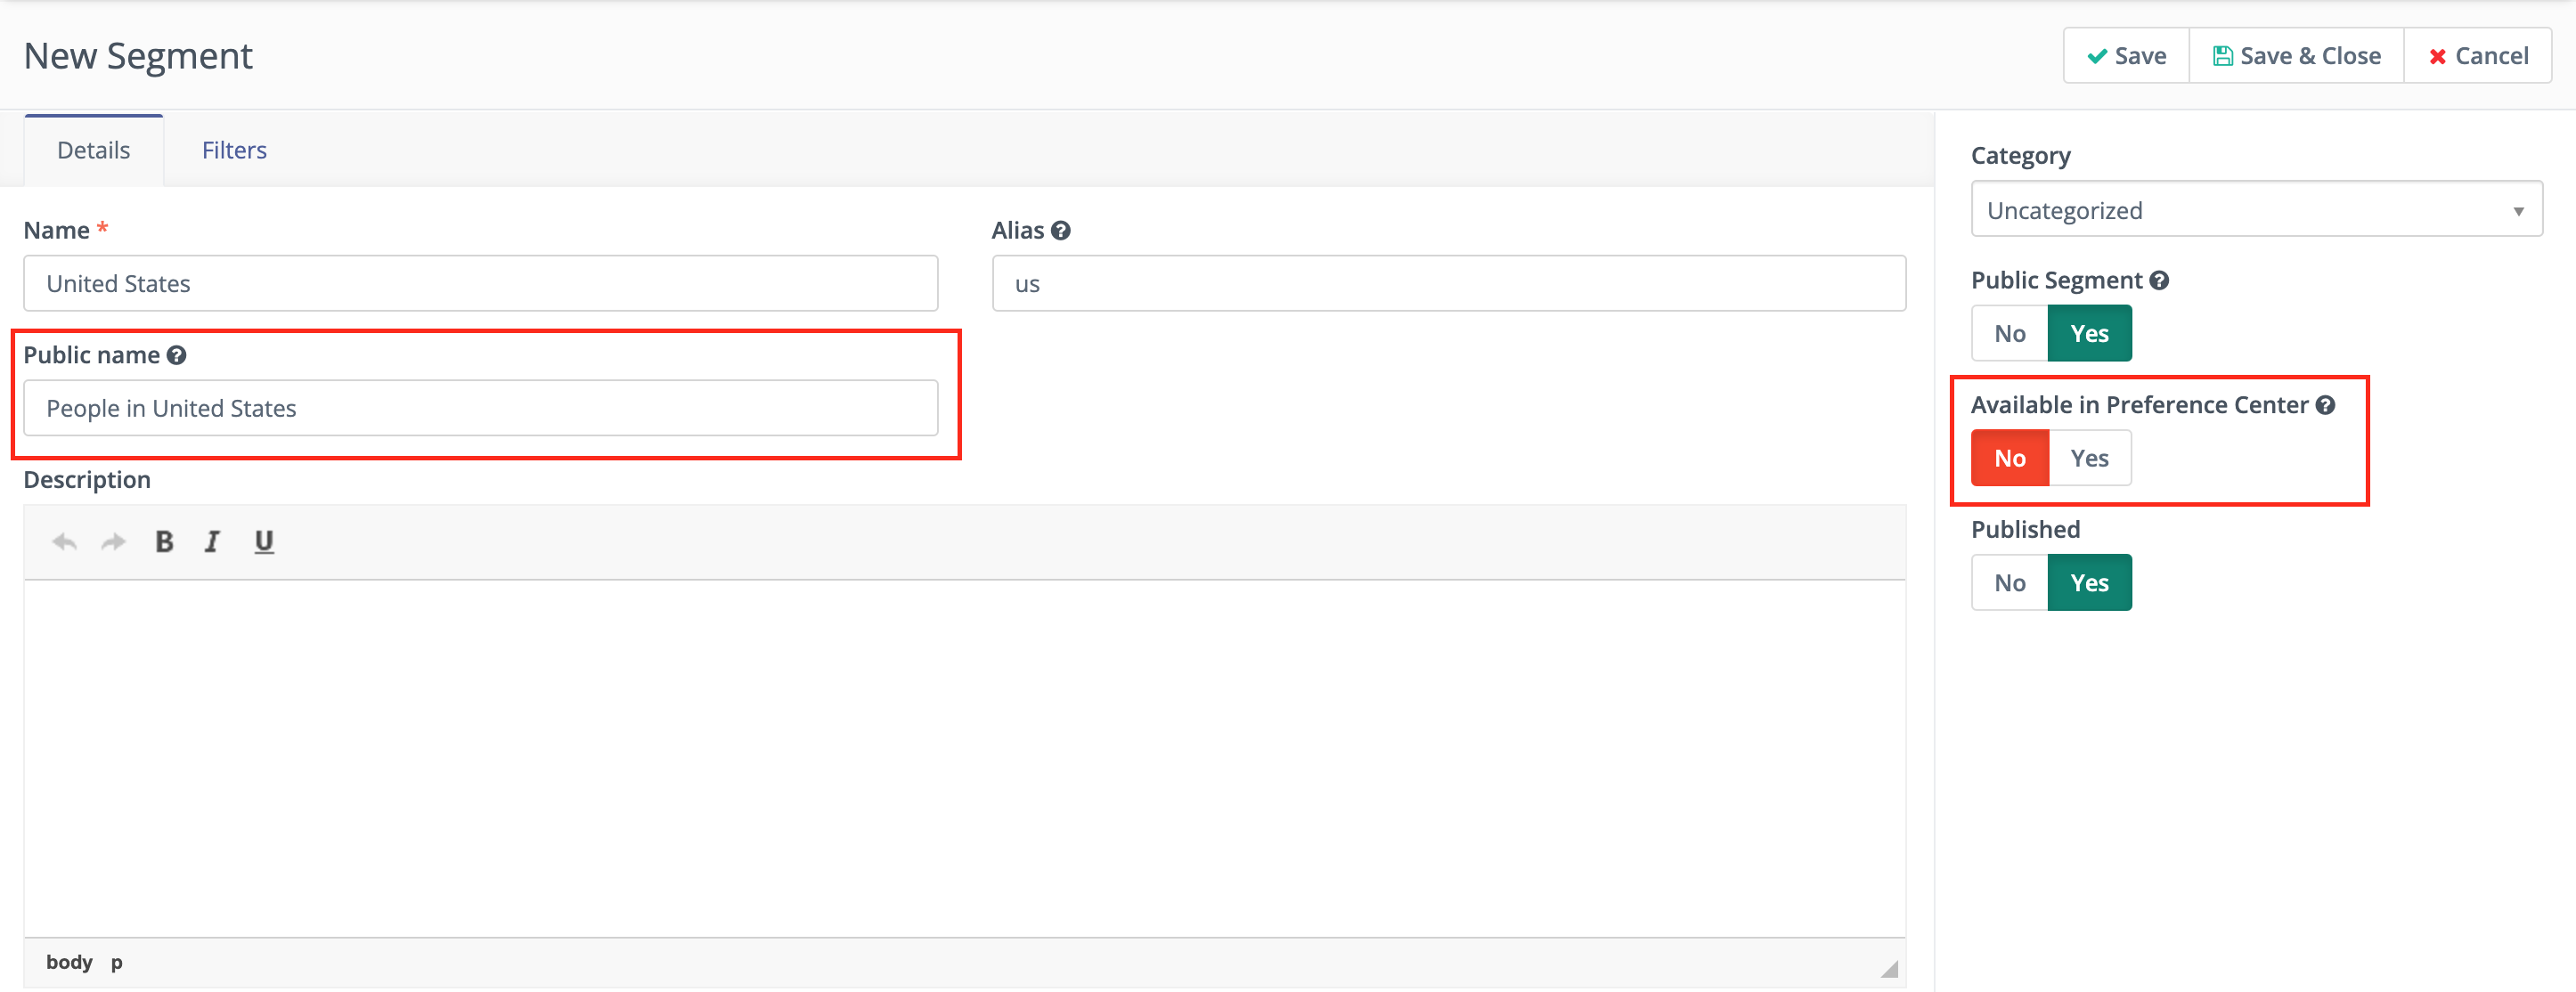
Public Segment - This option determines if the Segment is available for all Users to see and use, or only the User who created the Segment.
Available in Preference Center - If set to Yes, Contacts can see and opt into or out of the Segment on a Preference Center page. The Segments display if the Preference Center has the Segment List slot type.
Published - If set to No, the Segment won’t be available for use in filters for other Segments, as a Contact source in Campaigns, modify Segment actions, etc. You’ll still see the Segment in your Segment list, but it essentially won’t exist anywhere else in Mautic.
On the Details tab, static, and dynamic Segments also have the option to display a different public name for a Segment.
Public name - Users can set a different name for the Segment, which is visible to Contacts in Preference Center options.
Since Mautic 3.2 it has been possible to provide a public name, in addition to an internal name, for a Segment.
Viewing and exporting Contacts in a Segment
When viewing all Segments the # contacts column on the right shows the number of Contacts included in that particular Segment.

To view Contacts in a specific Segment, click View X Contacts from your Segment list or in the Contacts section of Mautic, enter segment:segment-alias in the search bar.
Static Segments
Static Segments aren’t filter-based. Adding Contacts to a Segment in done in one of the following ways:
Manually moving Contacts
The two manual options to move a Contact into a static Segment are:
Batch updating Contacts
Use search filters in the Contacts section of Mautic to find the Contacts to change.
Select the checkboxes next to those Contacts.
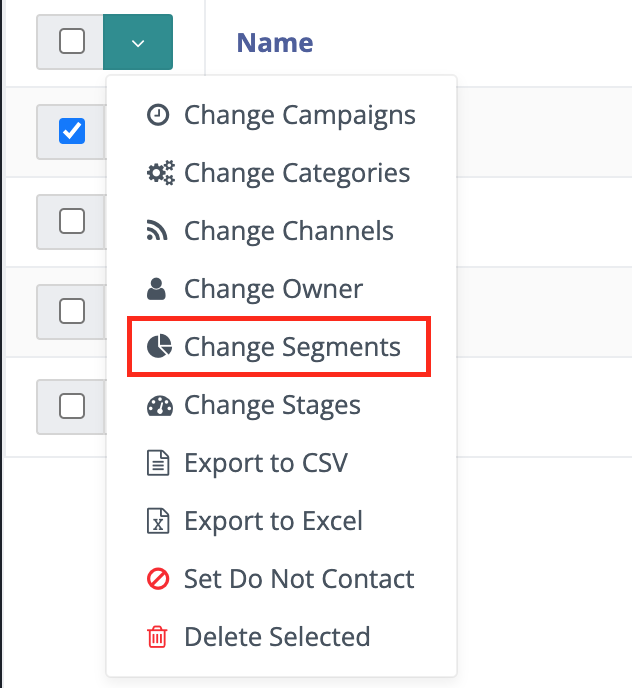
Click the green arrow which appears at the top of the column.
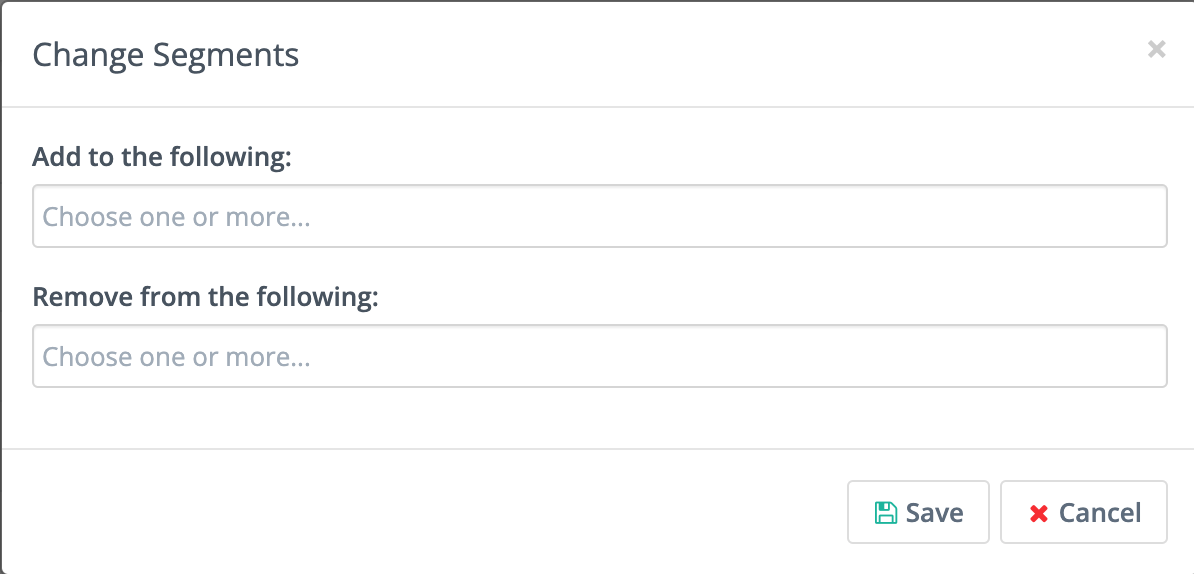
Select Change Segments from the list.
Choose the Segments to add or remove Contacts from.
Click Save.
Adding individual Contacts
Navigate to the Contact record you want to change.
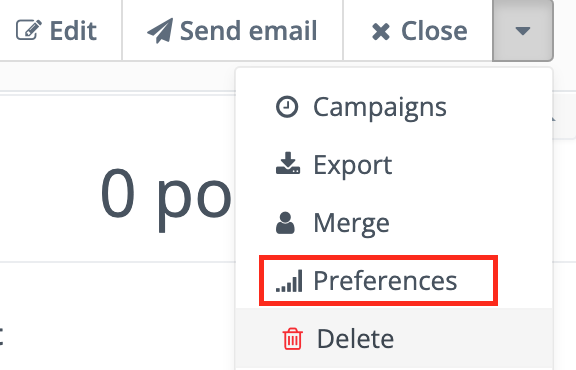
Click the arrow in the top right, next to Edit/Send Email/Close.
Select Preference.
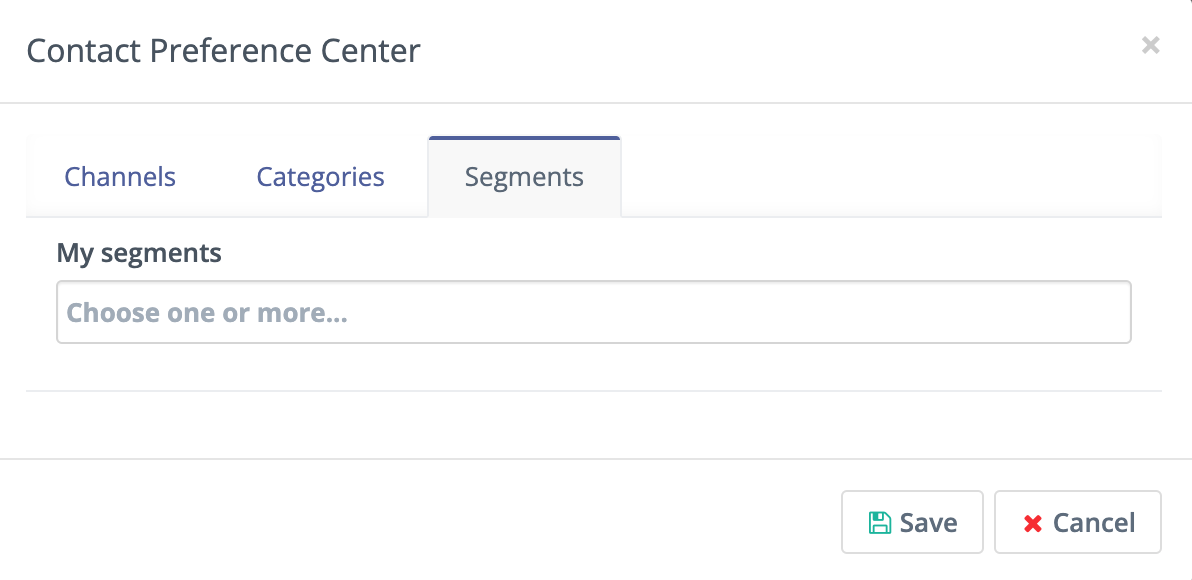
Click Segments.
Choose the Segments you’d like to add the Contacts to or remove Contacts from.
Click Save.
Using a Campaign action
Inside a Campaign, you can add or remove Contacts from Segments using the Modify Contact’s Segment action. To add Contacts to a Segment, you must have already created the Segment and set it to Public Segment = Yes.
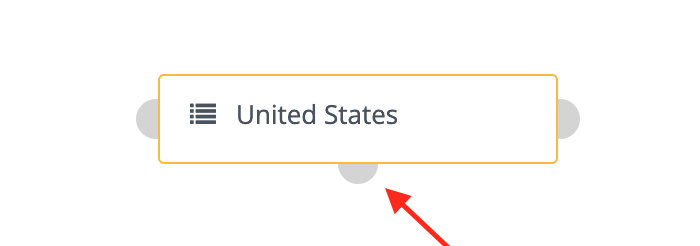
In the Campaign builder, click the bottom connector.
Select Action.
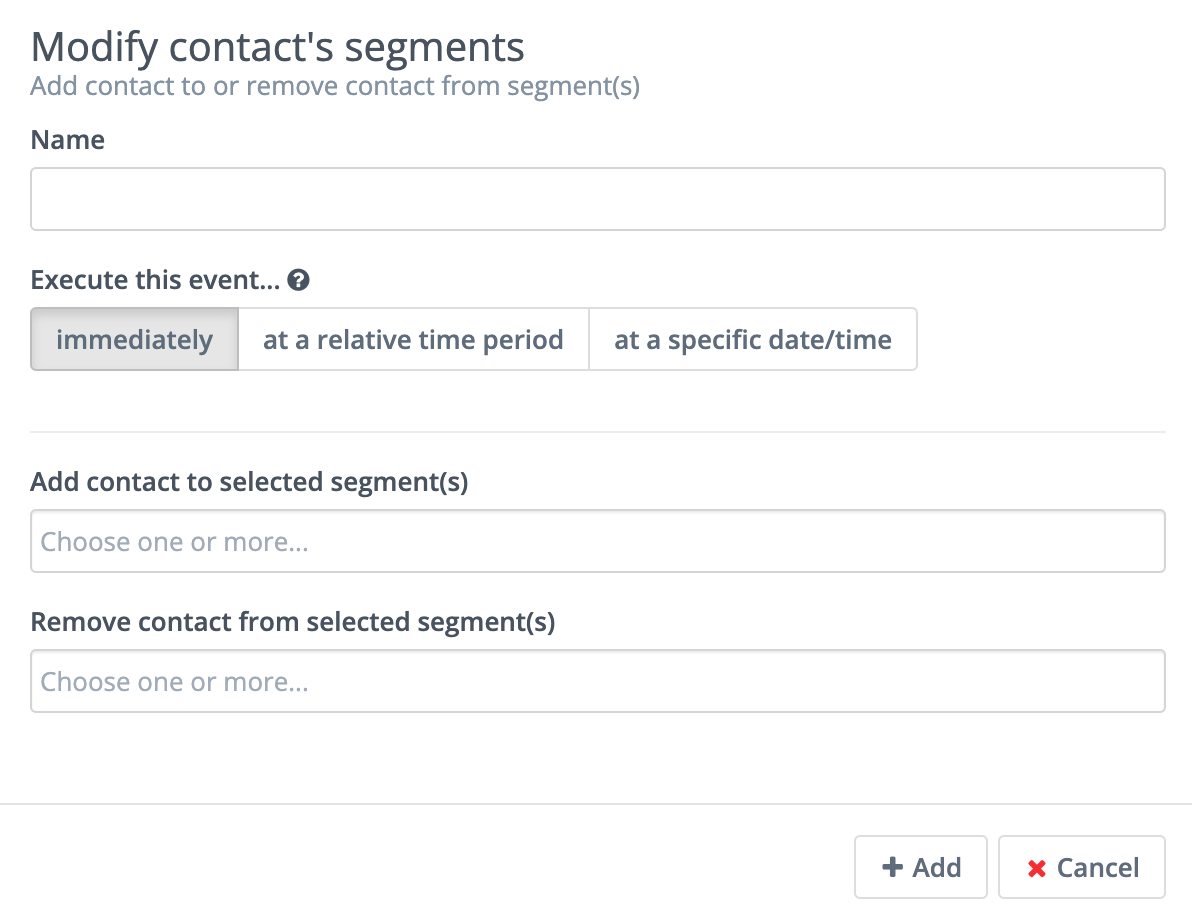
In the list of actions, select Modify Contact’s Segments.
Choose from the list of existing Segments you want to add or remove your Contact from.
Click Save and close.
Form submit action
Modify Contact’s Segment is available as a submit action on Standalone Forms. With a Campaign Form, create a Campaign with a Modify Contact’s Segment action.
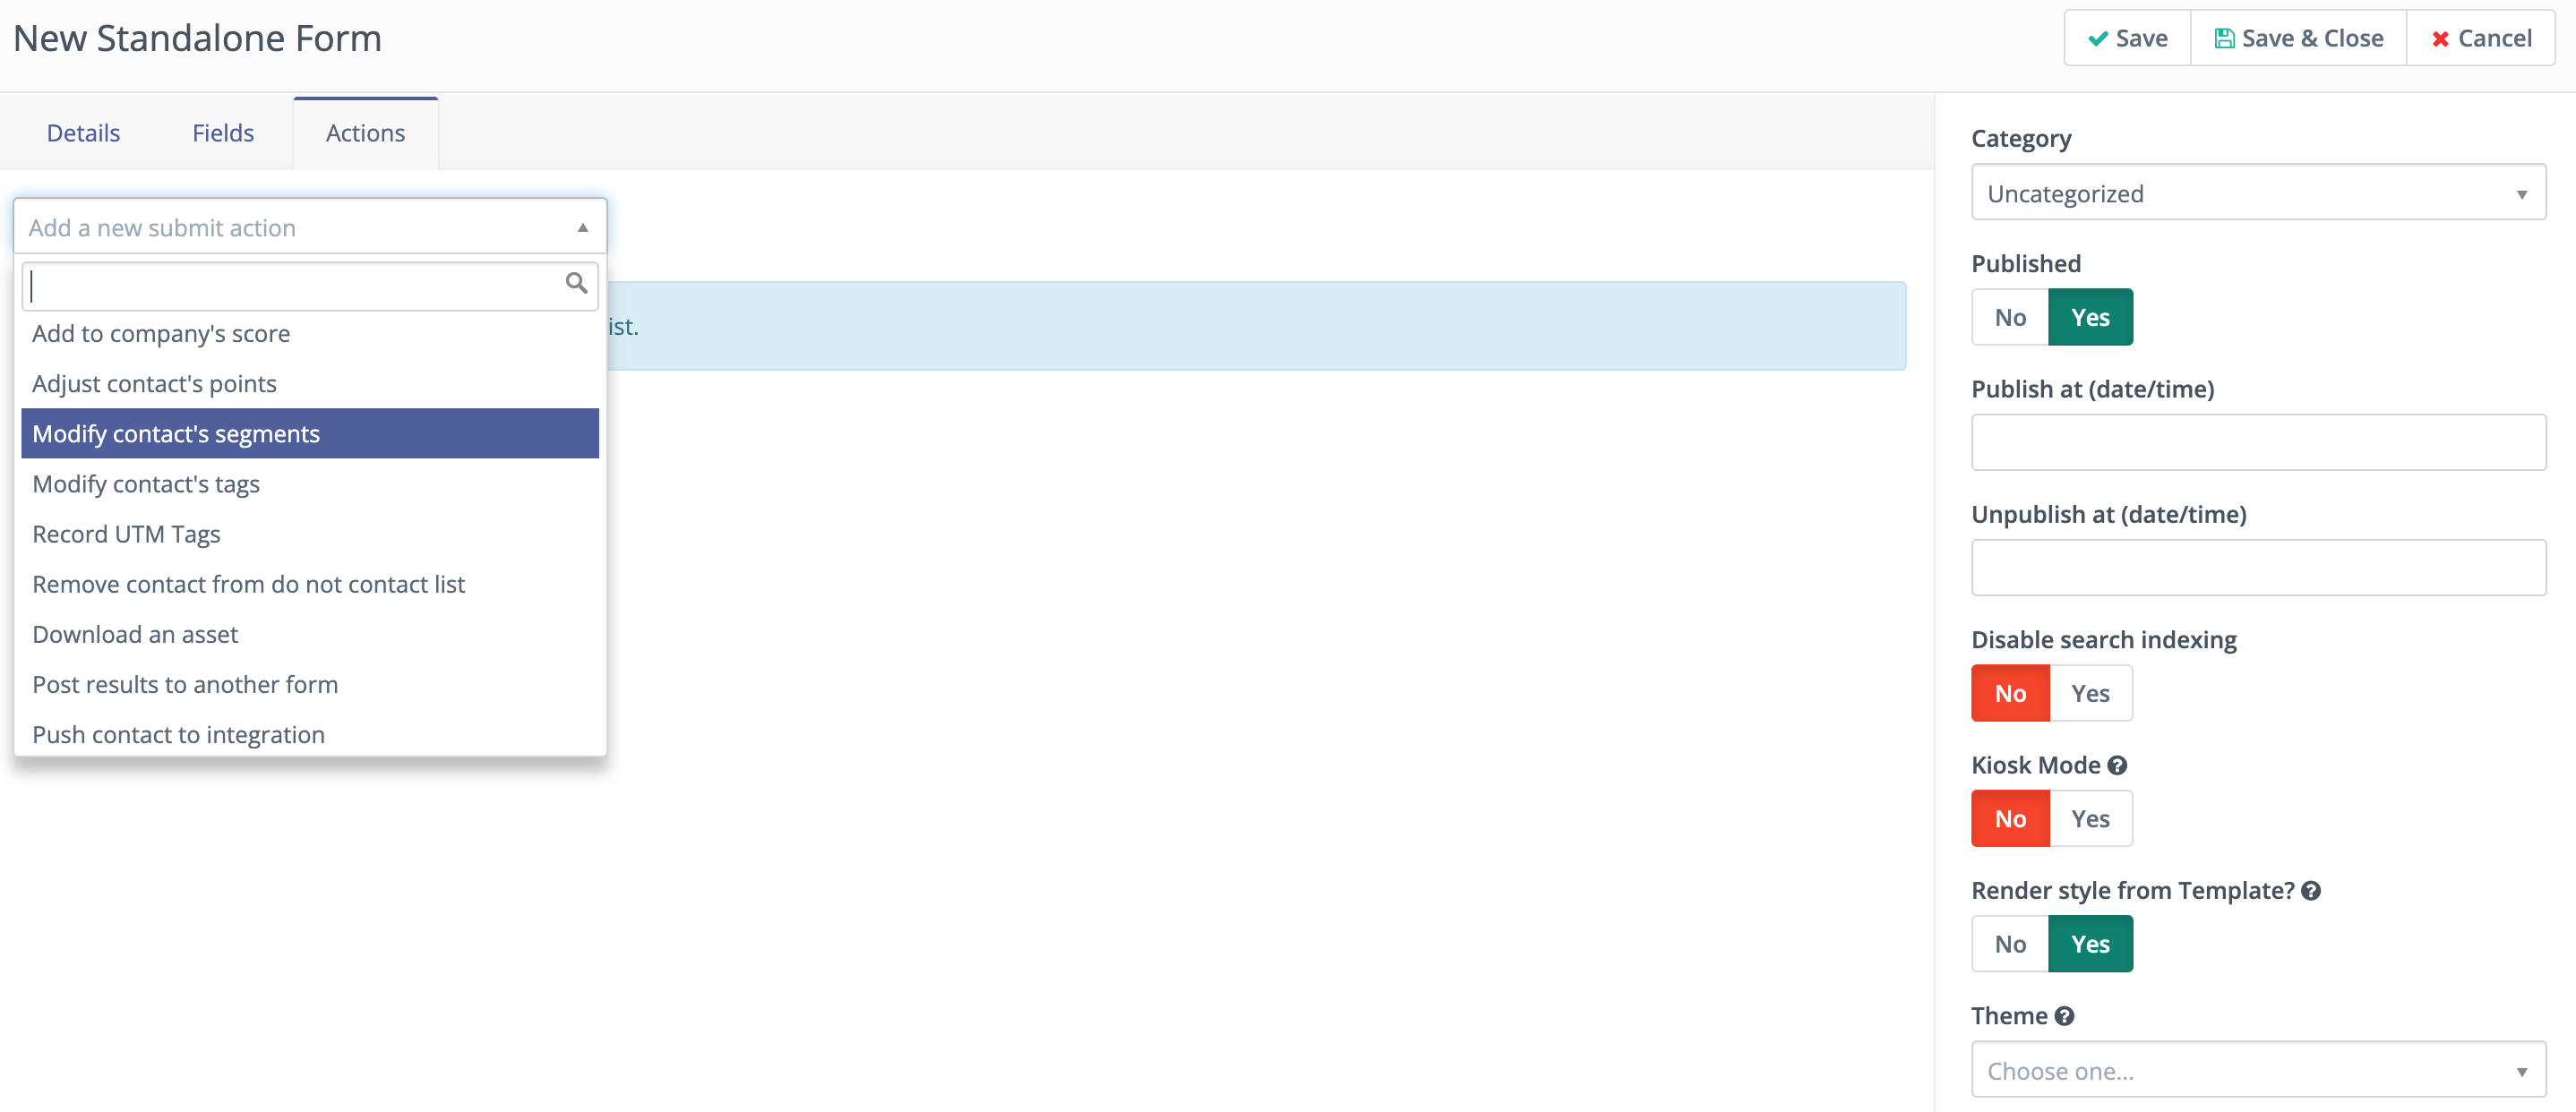
Click Actions.
From the Add new submit action menu, select Modify Contact’s Segments.
Add a Title for the submit action and add a Description - optional.
Select the Segments you’d like to add the Contact to or remove the Contact from.
Click Add.
Points trigger
Once a Contact has accrued an assigned number of Points, the system can add them to a Segment. This may be a Segment for your most engaged Contacts who become eligible for special offers, or a Segment your sales team reviews to find strong prospects.

In the Points section of the platform, select Manage Triggers.
Click +New.
Give your trigger a Name and Description.
Enter the Minimum number of Points for adding a Contact to your Segment.
Decide if you’d like to add all Contacts with at least that number of Points to the Segment:
Tip
If you only want to add new Contacts who reach the threshold to this Segment, select No - default.
To add all existing Contacts with at least a certain number of Points to the Segment, toggle the switch to Yes.
Click Events.
Click the menu for Add an event and select Modify Contact’s Segments.
Add a Title for the event and a Description - optional.
Select the Segments you’d like to add to or remove the Contact from.
Click Add.
Click Save & Close.
This accomplishes the same thing as creating a Dynamic Segment with a filter for Points, the operator greater than (or equal to), and the minimum number of Points. The difference is if you only want to add Contacts to a Segment who reach the point value after creating this trigger to a Segment, you can.
CSV upload
If you have a list outside of Mautic, saved as a UTF-8 encoded CSV file, you can upload the list directly into a Mautic Segment.
Click Contact.
Click the menu in the upper-right hand corner and select Import.
Ensure the file is in a UTF-8 CSV format. Select your file then click Upload.
At the top of the next screen, select the Segment you want to add the Contacts to.
Map the appropriate fields from the file. Remember to always map the unique identifier, so you don’t create duplicates.
Click Import.
If your file is larger than 1,000 rows, the system changes screens and informs you once the file has uploaded. After the upload is complete, click the Segments section of the platform to see the added Contacts.
Dynamic Segments
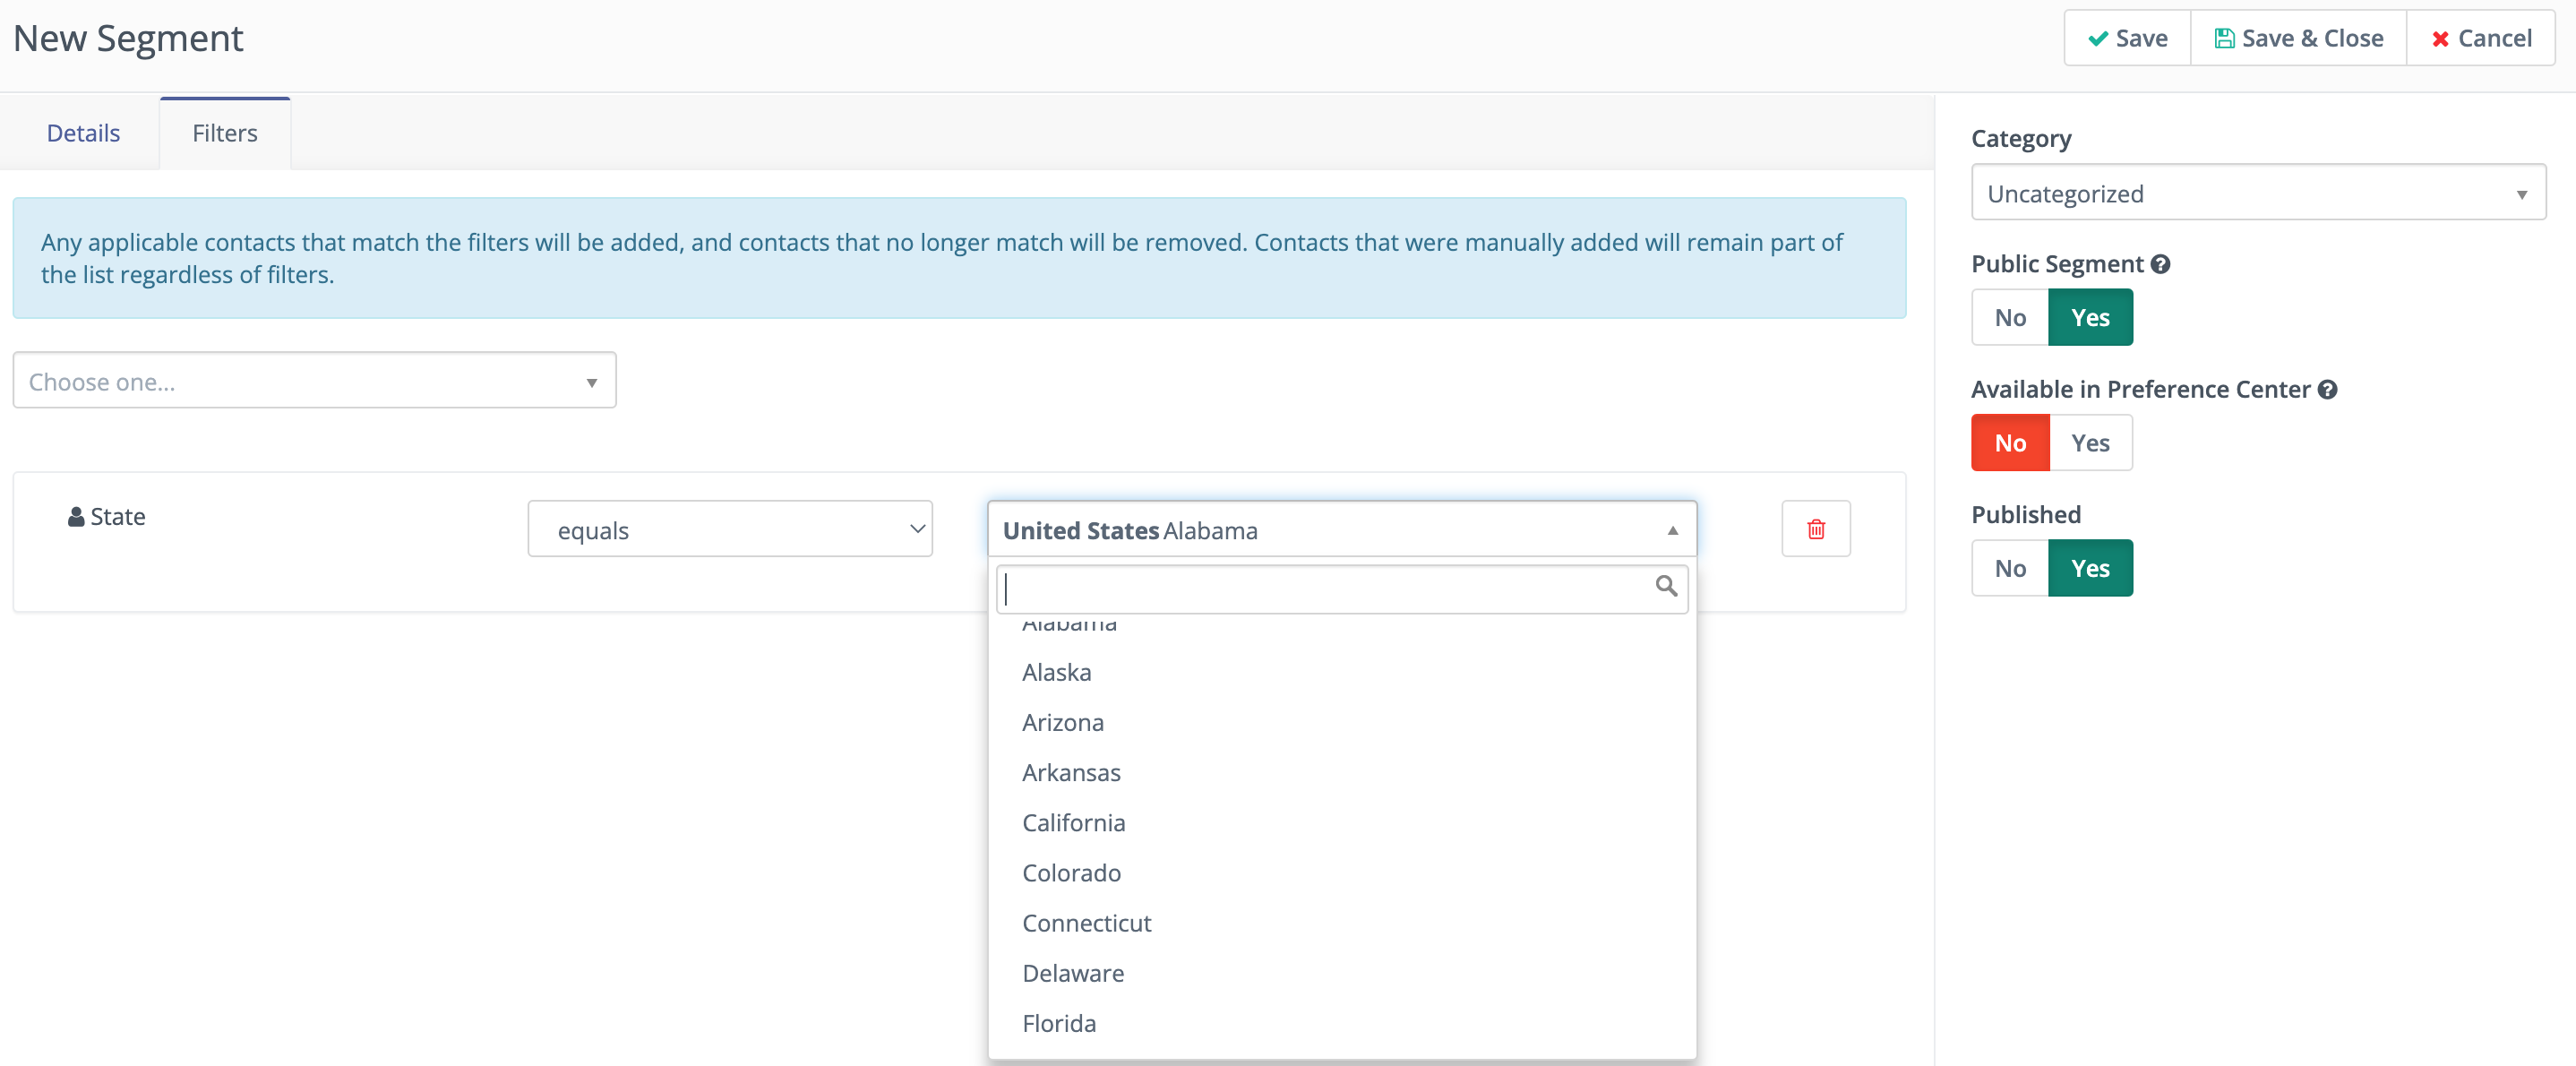
Mautic moves Contacts into and out of dynamic Segments based on the filters applied to the Segment. As the data associated with the Contact updates, including Company associations and behaviors, Mautic updates Segment membership.
Configuring Segment filters
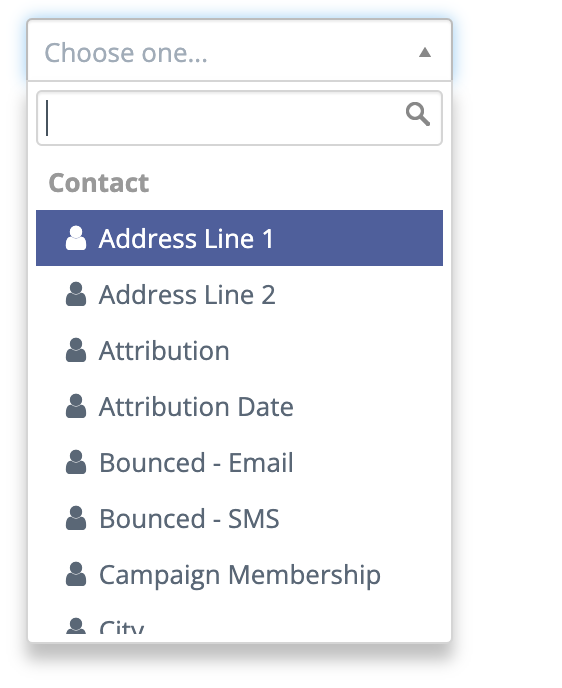
Create a new Segment by clicking the +New button.
In the Details tab, add a Name, Public name and Description to your Segment.
Click the Filters tab to add filters.
Click the Choose one… menu and search for the field you’d like to Segment by.
Attention
Listed below are three types of fields:
Contact fields
Set Fields to Available for Segments = Yes in your Custom Field manager to display here.
Contact behavior and actions
Primary Company fields
Set Fields to Available for Segments = Yes in your Custom Field manager to appear here.
Contacts associates with multiple Companies, but Mautic adds them to Segments based on fields for the primary Company.
Add more filters, using the And and Or operators. An Or operator creates a new group of filters which can include And operators.
Click Save and close.
Note
Segments are rebuilt according to how frequently you fire your cron jobs.
If a Segment fails to rebuild for a predetermined length of time, Mautic displays a notification alerting you of an error. For information on defining this time period, see Segment settings
Mautic supports include/exclude operators with pipe-separated
|values in the Text field types in Segment filters. You can paste the values from a spreadsheet.
Using Date Filters
You can create dynamic Segments by using date filters.
Note
The date format for values stored in the database is YYYY-MM-DD. For example, December 11, 2020 is stored as 2020-12-11 and November 12, 2020 is stored as 2020-11-12. To update the display format for dates, go to Settings > Configuration > System Settings > System Defaults. However, this doesn’t alter the storage format in the database.
Operators
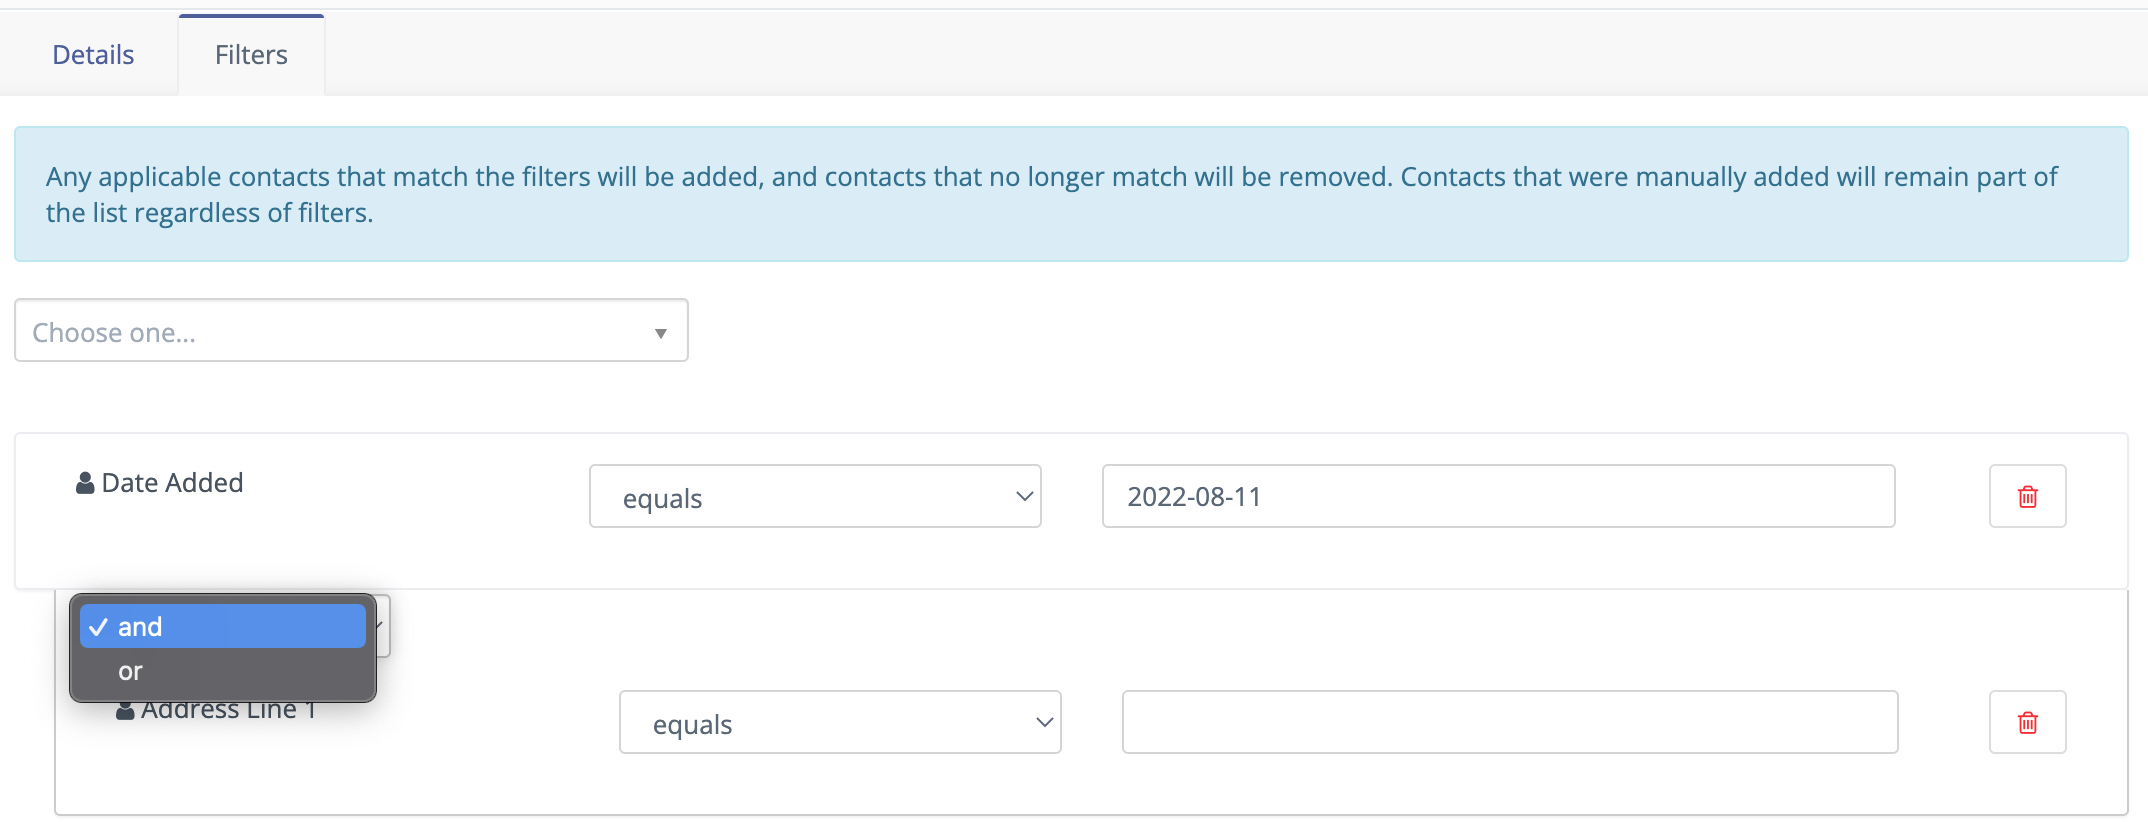
You must ensure that you use the correct operator and time frame to build an effective Segment.
Once you’ve selected a date field as your filter, such as the default Date last active field or a custom Birthday field, you’ll have a list of operators to choose from:
Equals - The value on the Contact record exactly matches the filter value.
Not Equal - The value on the Contact record is any value that doesn’t match the filter value.
Greater than - The value on the Contact record is at a later date in time than X date. For example,
Greater thantoday means anytime from tomorrow until the end of time.Greater than or equal - The value on the Contact record is either at a later date in time than or including X date. For example,
Greater than or equaltoday means anytime from today until the end of timeLess than - The value on the Contact record is at an earlier date in time than X date. For example,
Less than todaymeans anytime from the beginning of time until yesterday.Less than or equal - The value on the Contact record is at an earlier date in time than X date. For example,
Less than or equal todaymeans anytime from the beginning of time until today.Empty - No value exists in the field on the Contact record.
Not empty - A value exists in the field on the Contact record.
Like - This operator isn’t supported in date or date-time fields, don’t use it.
Not like - This operator isn’t supported in date or date-time fields, don’t use it.
Regexp - Segment includes Contacts with values that match the specified regular expression pattern. If you aren’t proficient with regular expression, don’t use this operator.
Not regexp - Segment includes Contacts with values that don’t match the specified regular expression pattern. If you aren’t proficient with regular expressions, don’t use this operator.
Starts with - Segment includes Contacts whose field values begin with the specified numbers. These filter values should generally reference years, or years and months.
For example, A value of 19 matches any Contacts whose field value has a year in the 1900^s. A value of 200 matches Contacts with a year value between 2000 and 2009 and a value of 2020-11 matches Contacts with a field value in November 2020.
Ends with - Segment includes Contacts whose field values end with the specified numbers. These filter values should generally reference days, or months and days.
For example, A value of 1 matches anyone whose field value is on the 1^st, 21^st, or 31^st of any month but a value of 01 matches the 1 st of a month. A value of 01-01 finds Contacts whose value is for January 1 of any year.
Contains - Segment includes Contacts with the specified filter value anywhere in the field value.
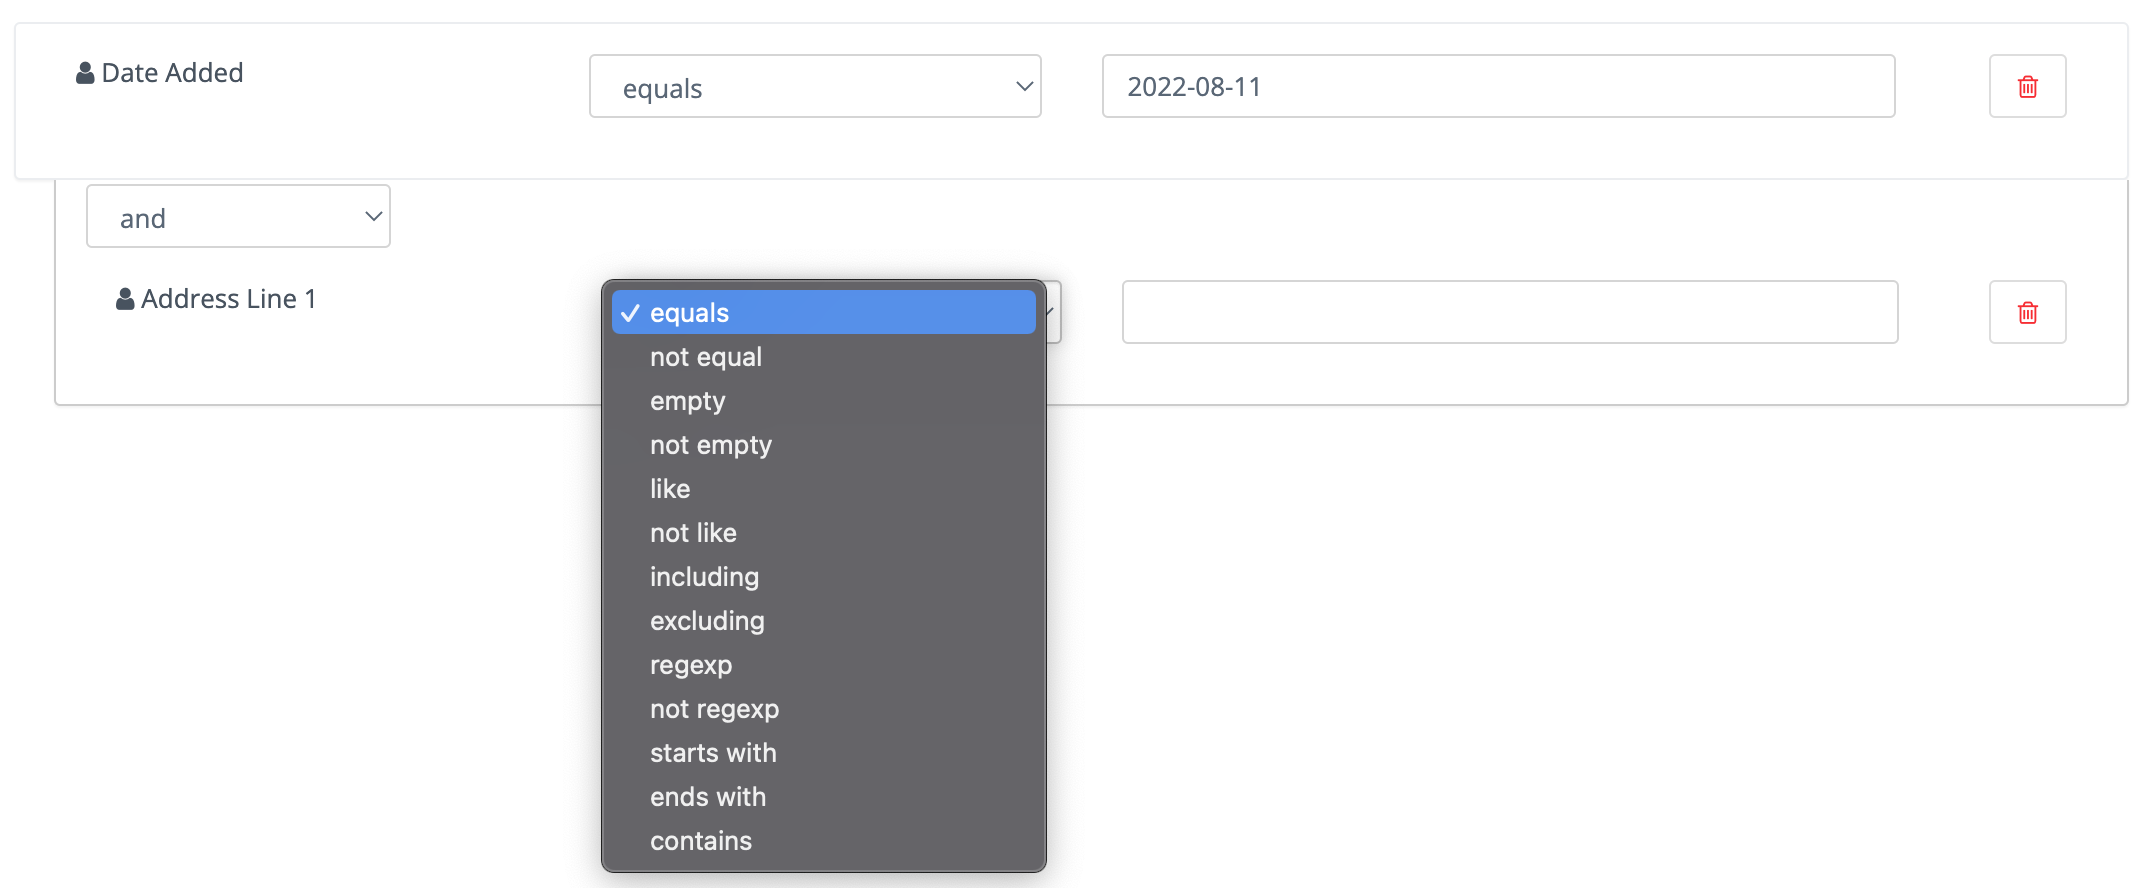
Once you have selected the field you can then choose the type of operation to perform. These vary depending on the way you wish to filter your Contacts.
Matching part of a string
There are 5 filters you can use for matching part of a string - starts with, ends with, contains, like and regexp.
First three filters match strings as you enter it. like filter is for advanced Users - you can specify which type you want to use with % character:
My string%is the same asstarts withfilter withMy stringvalue.%My stringis the same asends withfilter withMy stringvalue.%My string%is the same ascontainsfilter withMy stringvalue.My stringis the same ascontainsfilter withMy stringvalue.
A few notes for text filters:
You should use
starts with,ends with,containsrather thanlikeas they’re more specific, and therefore can be more effective.A
%character in the middle of the string has no special meaning. Acontainsfilter withmy % stringsearches for a string with%in the middle. The same is TRUE for alikefilter with%my % string%value. There is no need to escape this character.Mautic searches for the
%character in a value for thelikefilter, if finding at least one%Mautic doesn’t perform any modification.
You can use regular expressions in a regexp filter. Mautic recognises all common operators like | for OR - for example first string|second string, character sets including [0-9], [a-z0-9] and so forth, repetitions (+, *, ?) and more.
You have to escape special characters with \ if you want to use them as matching character.
Learn more about Regex.
Note
MySQL (and Mautic) uses POSIX regular expressions, which could behave differently from other types of regular expressions.
Date options
Date filters allow you to choose a date via DatePicker:

However, you can specify much more here. Mautic recognizes relative formats too - these string aren’t translatable:
+1 day- you can also use1 day-2 days- you can also use2 days ago+1 week/-2 weeks/3 weeks ago+5 months/-6 months/7 months ago+1 year/-2 years/3 years ago
Example - Consider that today is 2022-03-05:
Date identified equals -1 weekreturns all Contacts identified on 2022-02-26.Date identified less than -1 weekreturns all Contacts identified before 2022-02-26.Date identified equals -1 monthsreturns all Contacts identified on 2022-02-05.Date identified greater or equal -1year returns all Contacts identified 2021-03-05 and after.Date identified greater than -1year returns all Contacts identified after 2021-03-05.
Beside this you can specify your date with text. These formulas are translatable, so make sure you use them in correct format.
birthday/anniversarybirthday -7 days/anniversary -7 daystoday/tomorrow/yesterdaythis week/last week/next weekthis month/last month/next monththis year/last year/next year
Example (Consider that today is 2022-03-05):
Date identified equals last weekreturns all Contacts identified in the specified date range, for example 2022-03-01 - 2022-03-07.Date identified less than last weekreturns all Contacts identified before 2022-02-22.Date identified equals last monthreturns all Contacts identified in the specified date range, for example 2022-02-01 - 2022-02-28.Date identified greater or equal last yearreturns all Contacts identified 2021-01-01 and after.Date identified greater than last yearreturns all Contacts identified after 2021-12-31.Custom Contact date field equal birthday -1 dayreturns all Contacts identified every year on 03-04 (4th march).Custom Contact date field equal anniversary -1 monthreturns all Contacts identified every year on 02-04 (4th february)
Once you have created your Segment, any applicable Contact is automatically added through the execution of a cron job. This is the essence of Segments.
To keep the Segments current, create a cron job that executes the command at the desired interval.
Through the execution of that command, Mautic adds Contacts that match the filters and removes Contacts that no longer match. Any Contacts that were manually added remain part of the list regardless of filters.
Delete all Contacts in a Segment
It’s possible to delete all Contacts in a Segment manually rather than with a Campaign action. To do this, first create a Segment with filters that picks up all the Contacts you want to delete.
This is a performance precaution since deleting more Contacts at one time could cause issues. You can, however, delete multiple batches of 100 Contacts to delete larger lists.
Select the checkboxes next to those Contacts.
Click the green arrow which appears at the top of the column.
Select Delete Selected from the list.
Click Delete.
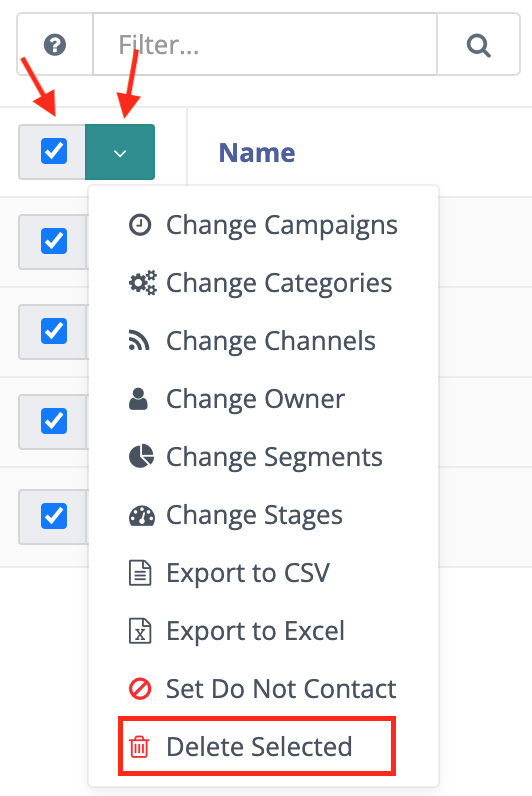
Deleting thousands of Contacts this way in one Segment becomes a tedious task. Luckily, there is a trick how to let the background workers do the job for you.
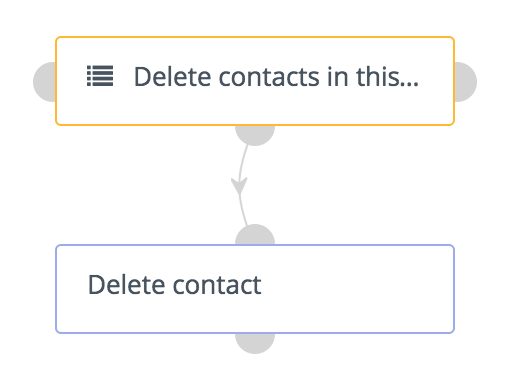
Create a Campaign which has the Segment as the source
Use the Delete contact action.
This way the mautic:campaign:update and mautic:campaign:trigger commands delete all the Contacts in the Segment, and all the Contacts added to the Segment in the future.
It’s all done automatically in the background.
It’s necessary to configure the cron jobs.
Danger
You can’t recover deleted Contacts unless you restore your entire Mautic database backup. Use with extreme caution.
Deleting or unpublishing a Segment
Since Mautic 4.0 there is a step when deleting or unpublishing a Segment to ensure that it’s not required as a filter by an existing Segment.

If you attempt to delete or unpublish a Segment which is in use by a filter in another Segment, an alert prompts you to edit the other Segment, removing the dependency before you delete the Segment.
